 Contact Us
 My Account
 Basket

Flyers are single-sheet marketing assets used to raise awareness about offerings, initiatives, or events through print or online channels. Distributed by hand, mail, or displayed in public spaces, flyers are concise, cost-effective marketing tools designed to grab attention and deliver essential information quickly. Popular among businesses and organisations, they remain a go-to choice for promotions. If you’re exploring flyers how to make, start with a clear objective, strong visuals, and a compelling message.
How to Make a Flyer: A Step-by-Step Guide
1. Define Your Objective
Before designing, clarify the purpose of your flyer. Is your goal to market a product, publicise an event, or highlight a service offering? A clear objective ensures focused content and design.
2. Know Your Audience
Understanding your target audience helps tailor the flyer’s message, design, and distribution method. Consider demographics, preferences, and the best channels to reach them.
3. Choose the Right Format
Select a flyer size that suits your content and distribution plan. Common sizes include A4 (8.27 x 11.69 inches) and A5 (5.83 x 8.27 inches). Decide between print and digital formats based on your audience’s preferences.
4. Craft Compelling Content
Create a catchy headline, concise body text, and a strong call-to-action (CTA). Ensure the content is clear, persuasive, and aligned with your objective.
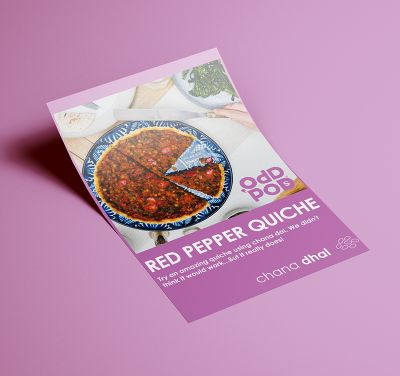
5. Design Visually Appealing Layouts
Use high-quality images, readable fonts, and a colour scheme that reflects your brand. Maintain a clean layout with balanced white space to enhance readability.
6. Incorporate Branding Elements
Include your logo, brand colours, and contact information to reinforce brand identity and facilitate communication.
7. Review and Distribute
Proofread the flyer to ensure there are no errors and that all information is accurate. Distribute through appropriate channels—handouts, mail, email, or social media—to reach your target audience effectively. For businesses aiming to expand reach through print, integrating flyer and leaflet printing can maximise visibility across formats.
How to Make Flyers for a Business
Creating effective business flyers involves:
- Highlighting Unique Selling Points: Clearly state what sets your product or service apart.
- Professional Design: Use consistent branding, high-quality images, and a clean layout to convey professionalism.
- Clear Contact Information: Ensure that your flyer includes a phone number, email, and website as primary contact methods.
- Special Offers: Include promotions or discounts to entice potential customers.
- Distribution Strategy: Target areas frequented by your ideal customers, such as business districts or trade shows.
Available Sizes & Templates at VC Print
Our safety signs are provided in a selection of standard sizes, ensuring they meet various site specifications:
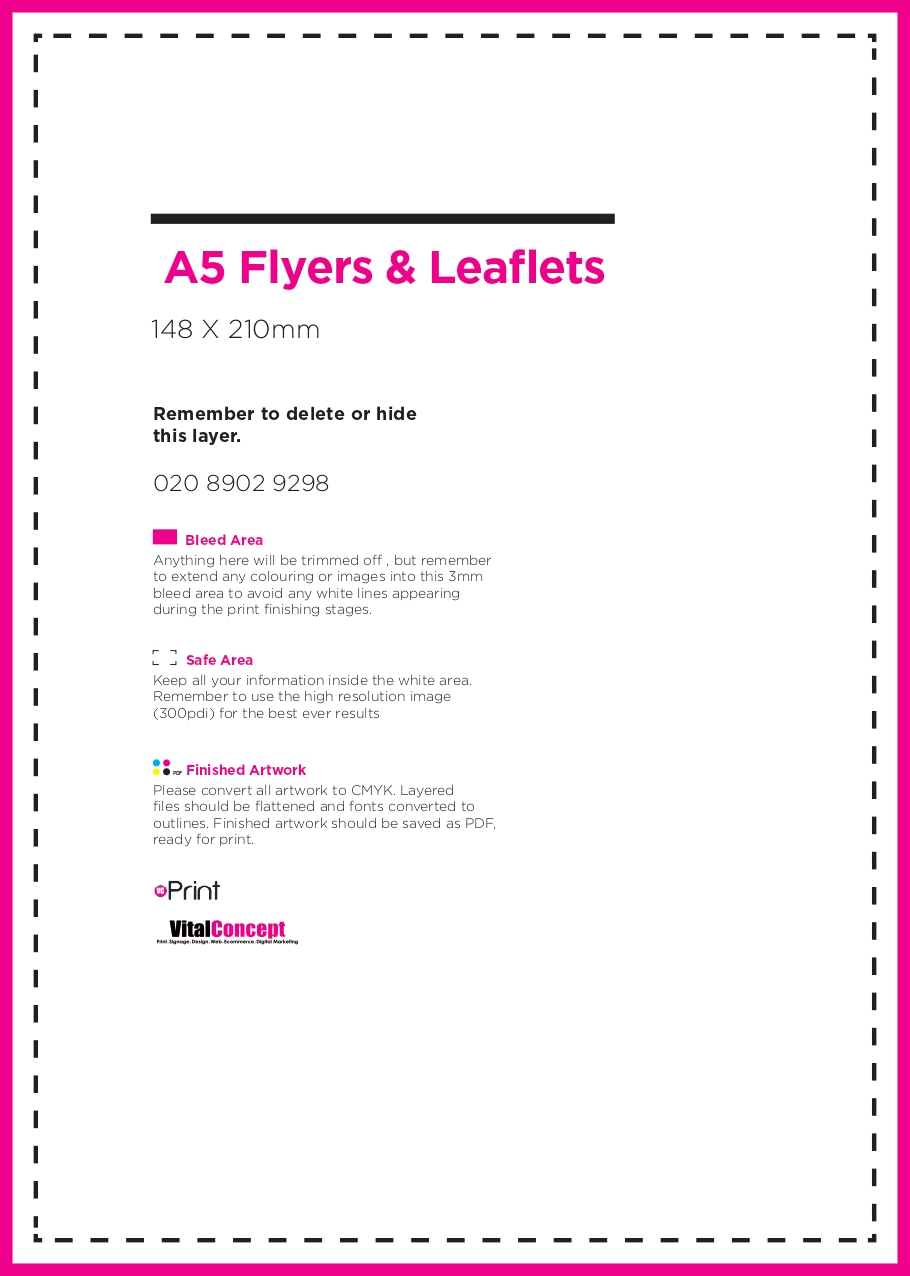
- A5: 148mm x 210mm
- A4: 210mm x 297mm
- A3: 297mm x 420mm
- A2: 420mm x 594mm
- A1: 594mm x 841mm
- A0: 841mm x 1189mm
Custom sizes can also be arranged upon request to suit specific site requirements.
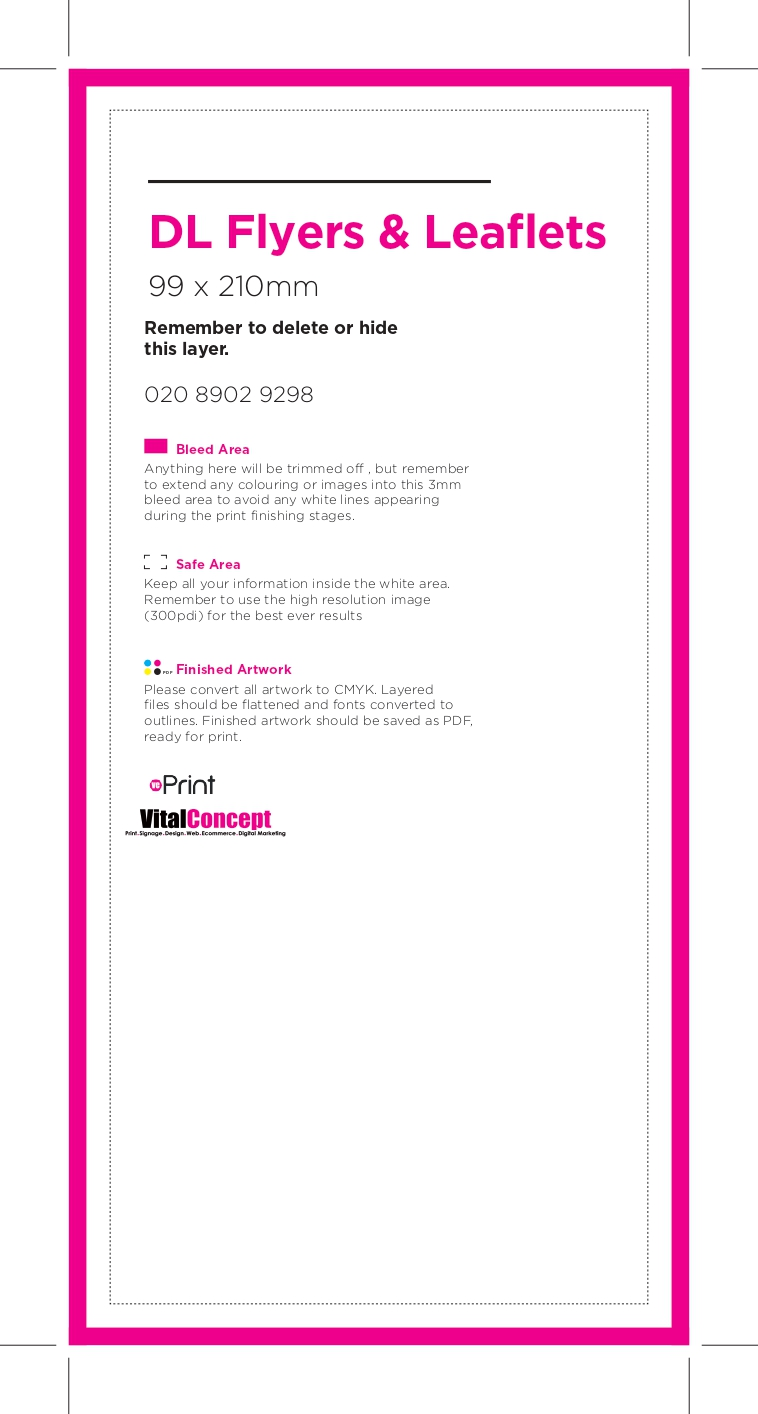
For layout guidance and print-ready templates, please visit our Flyers & Leaflets page to download a variety of available templates.
Tools to Create Flyers
Several online tools can assist in designing professional flyers:
How to Create Flyers in Canva: Step-by-Step Guide
1. Sign Up or Log In to Canva
- Go to Canva.com to register for a free account or log in if you already have credentials.
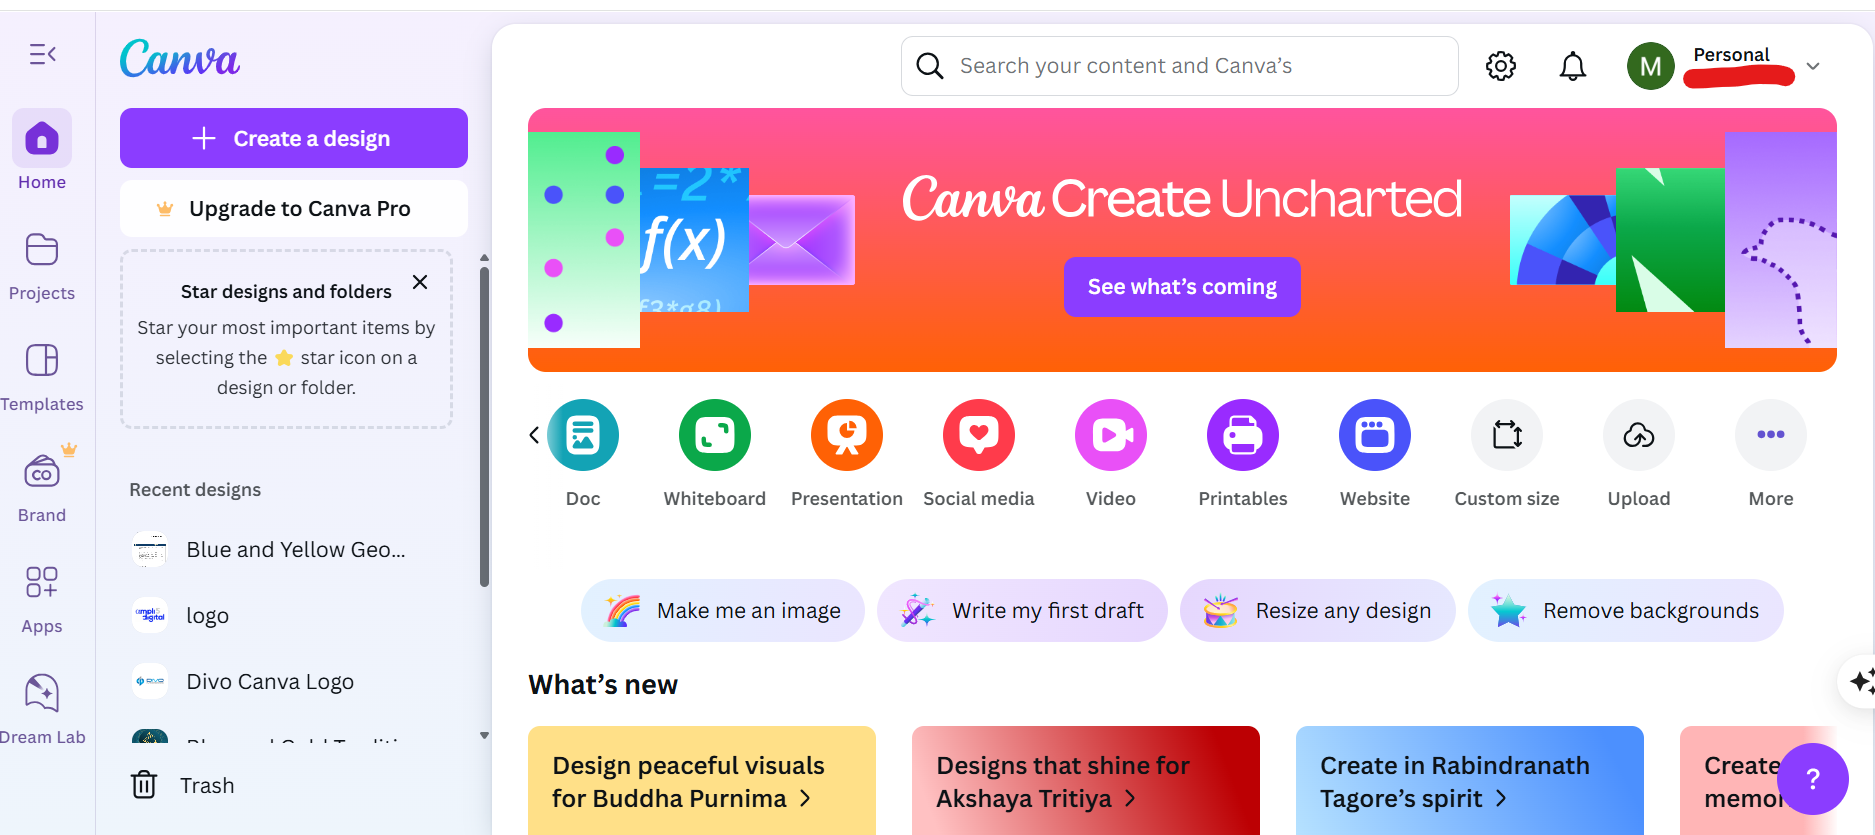
2. Start a New Flyer Design
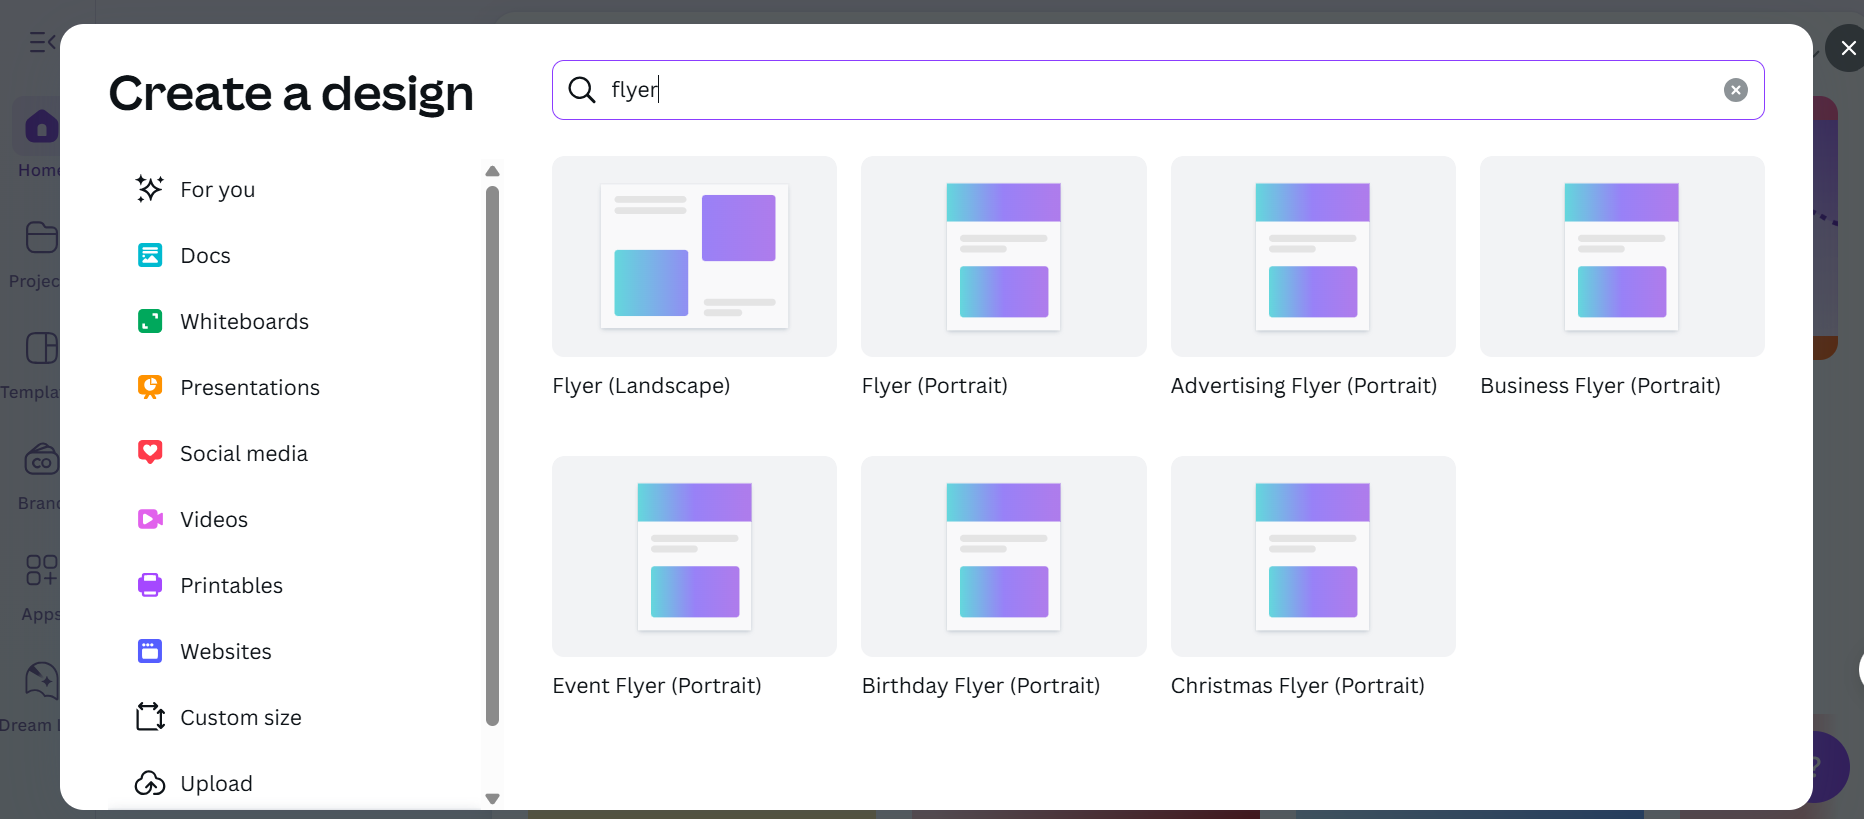
- Click the “Create a design” option at the top right of the page.
- In the search bar, type “Flyer”and select the appropriate option (portrait or landscape) to open a new design page.
3. Choose a Flyer Template
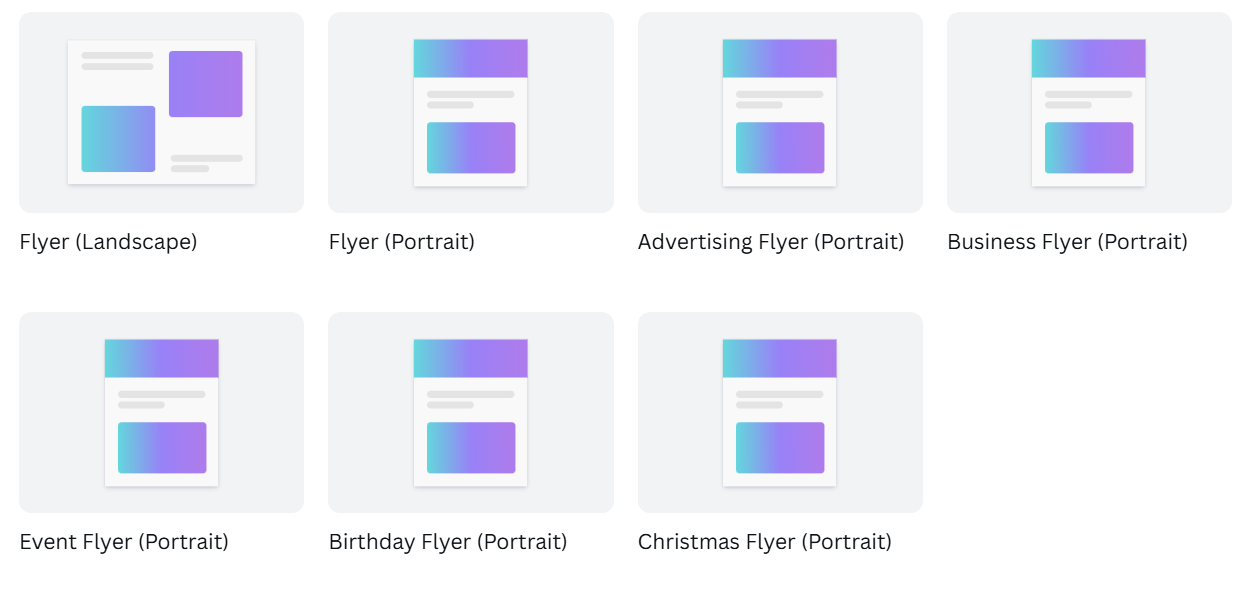
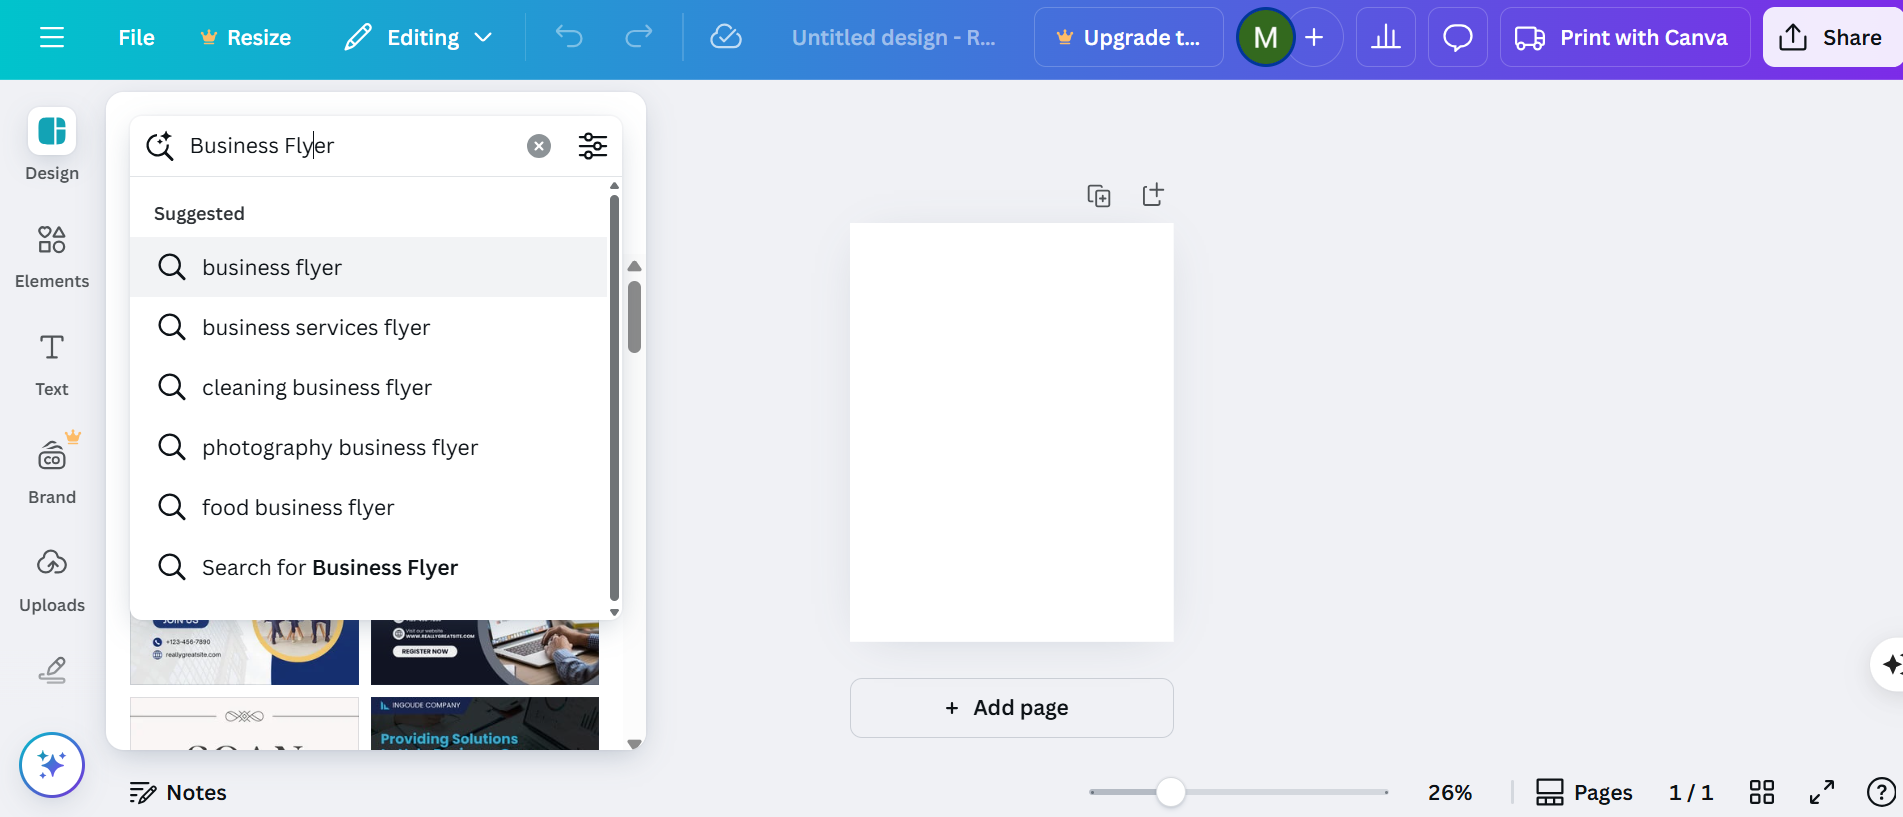
- Browse through Canva’s extensive library of flyer templates.
- Use keywords like “business,” “event,” or “sale” to find a template that suits your needs.
- Click on a template to apply it to your design.
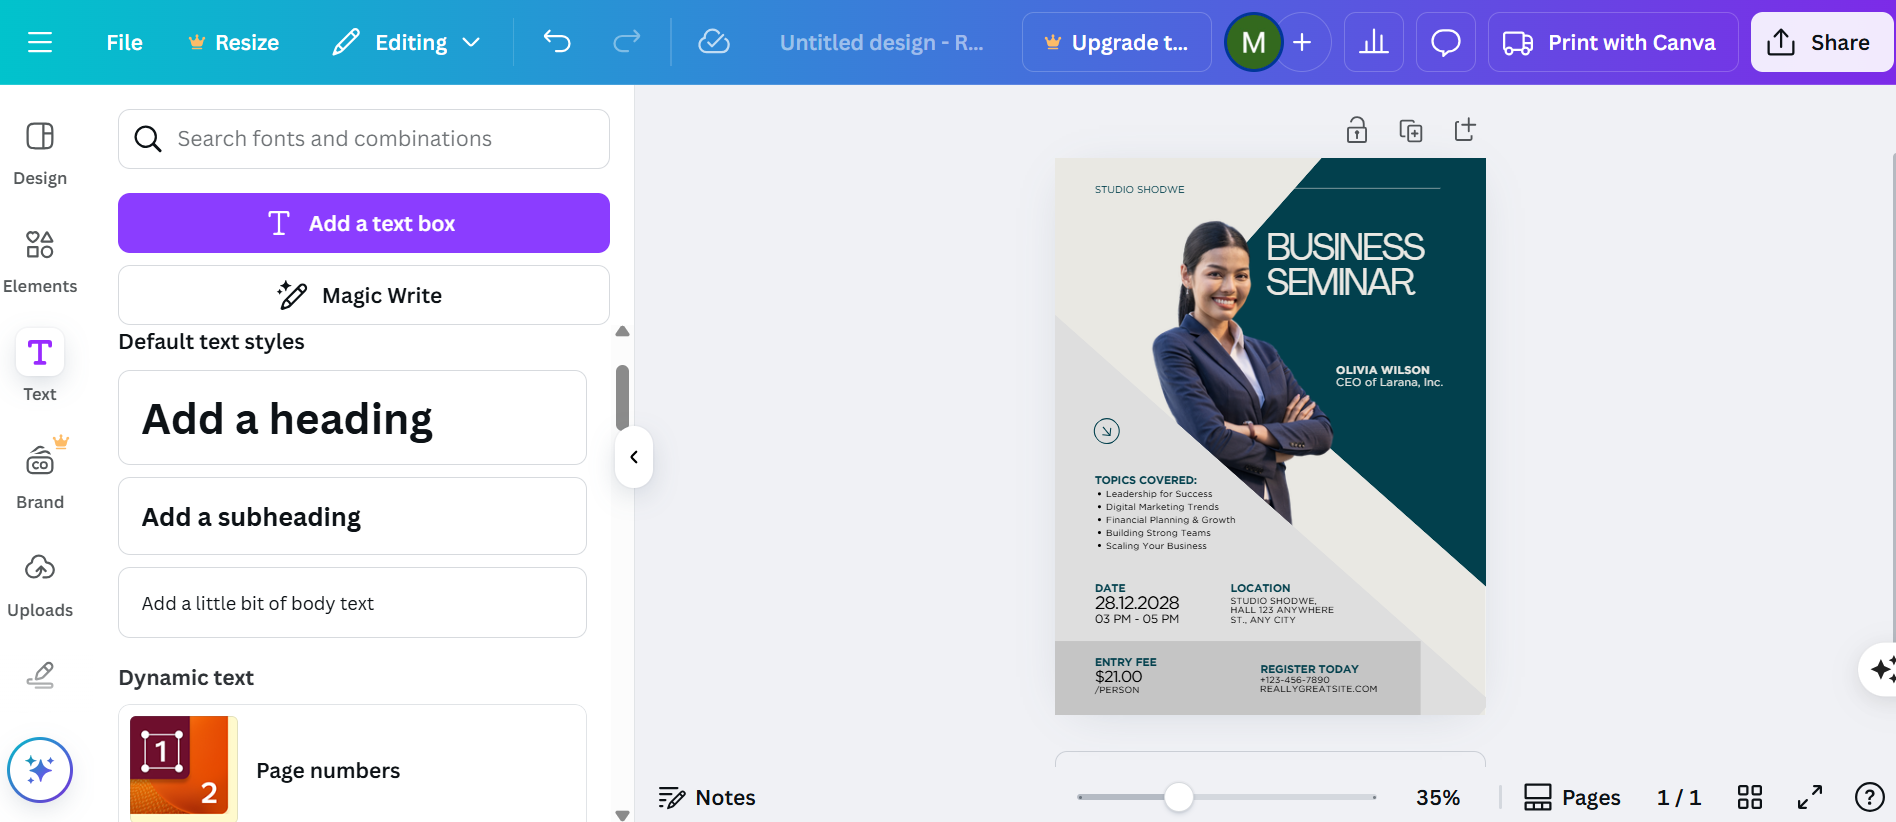
4. Customise the Template
- Edit Text: Click on existing text boxes to modify the content. Adjust fonts, sizes, and colours as needed.
- Change Images: Replace placeholder images by uploading your own or selecting from Canva’s image library.
- Adjust Colours: Use the colour palette tool to match your brand or desired theme.
- Add Elements: Incorporate a variety of icons, shapes, or illustrations from the “Elements” section to improve your design.
5. Incorporate Branding
- Upload your logo via the “Uploads” tab and position it appropriately on the flyer.
- Ensure consistency by using your brand’s colour scheme and fonts throughout the design.
- For a standout, premium design, opt for custom shapes or die-cut flyers to give your brand a distinctive edge.
6. Finalise and Download

- Review your flyer for any errors or inconsistencies.
- Click on the “Share”button, then select “Download.”
- Choose the desired file format (PDF for printing, PNG or JPEG for digital use) and download your flyer.
How to Create Flyers in Adobe Express: Step-by-Step Guide
1. Sign up for a new account or log in to Adobe Express.
- Navigate to Adobe Express and sign up for a free account or log in if you already have one.
2. Start a New Flyer Design
- Navigate to the top-left corner and click on the “Create a new project” button.
- In the search bar, type “Flyer”and select the appropriate option to open a new design page.
3. Choose a Flyer Template
- Browse through Adobe Express’s extensive library of flyer templates.
- Use keywords like “business,” “event,” or “sale” to find a template that suits your needs.
- Select a template and add it to your design workspace.
4. Customise the Template
- Edit Text: Click on existing text boxes to modify the content. Adjust fonts, sizes, and colours as needed.
- Change Images: Replace placeholder images by uploading your own or selecting from Adobe Express’s image library.
- Adjust Colours: Use the colour palette tool to match your brand or desired theme.
- Add Elements: Enhance your design by integrating icons, shapes, or illustrations from the “Elements” tab.
5. Incorporate Branding
- Upload your logo using the “Uploads” tab and place it correctly on the flyer.
- Ensure consistency by using your brand’s colour scheme and fonts throughout the design.
6. Finalise and Download
- Review your flyer for any errors or inconsistencies.
- Click on the “Download” button, then select the desired file format (PDF for printing, PNG or JPEG for digital use) and download your flyer.
For a visual walkthrough on creating flyers in Adobe Express, you might find this tutorial helpful:
How To Make A Flyer In Word: Step-By-Step Guide
1. Open Microsoft Word
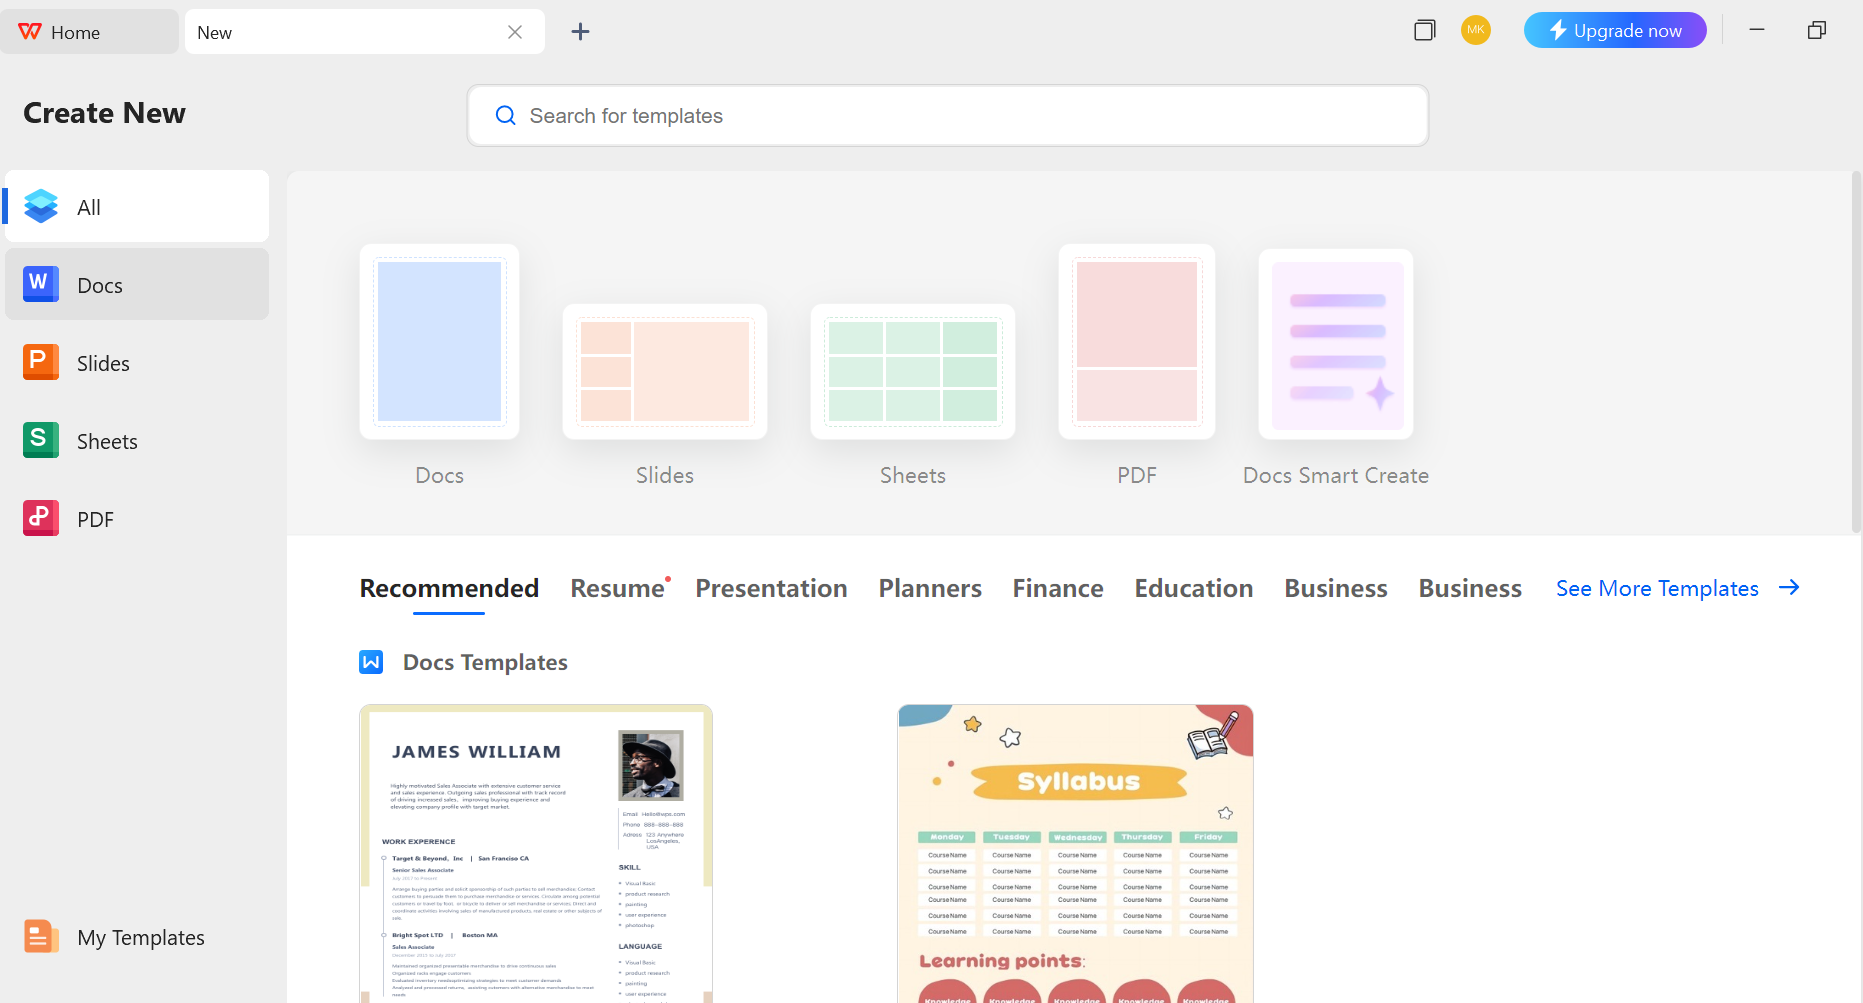
- Launch Microsoft Word on your computer.
- Go to File and select “New” to begin a new document.
2. Choose a Flyer Template
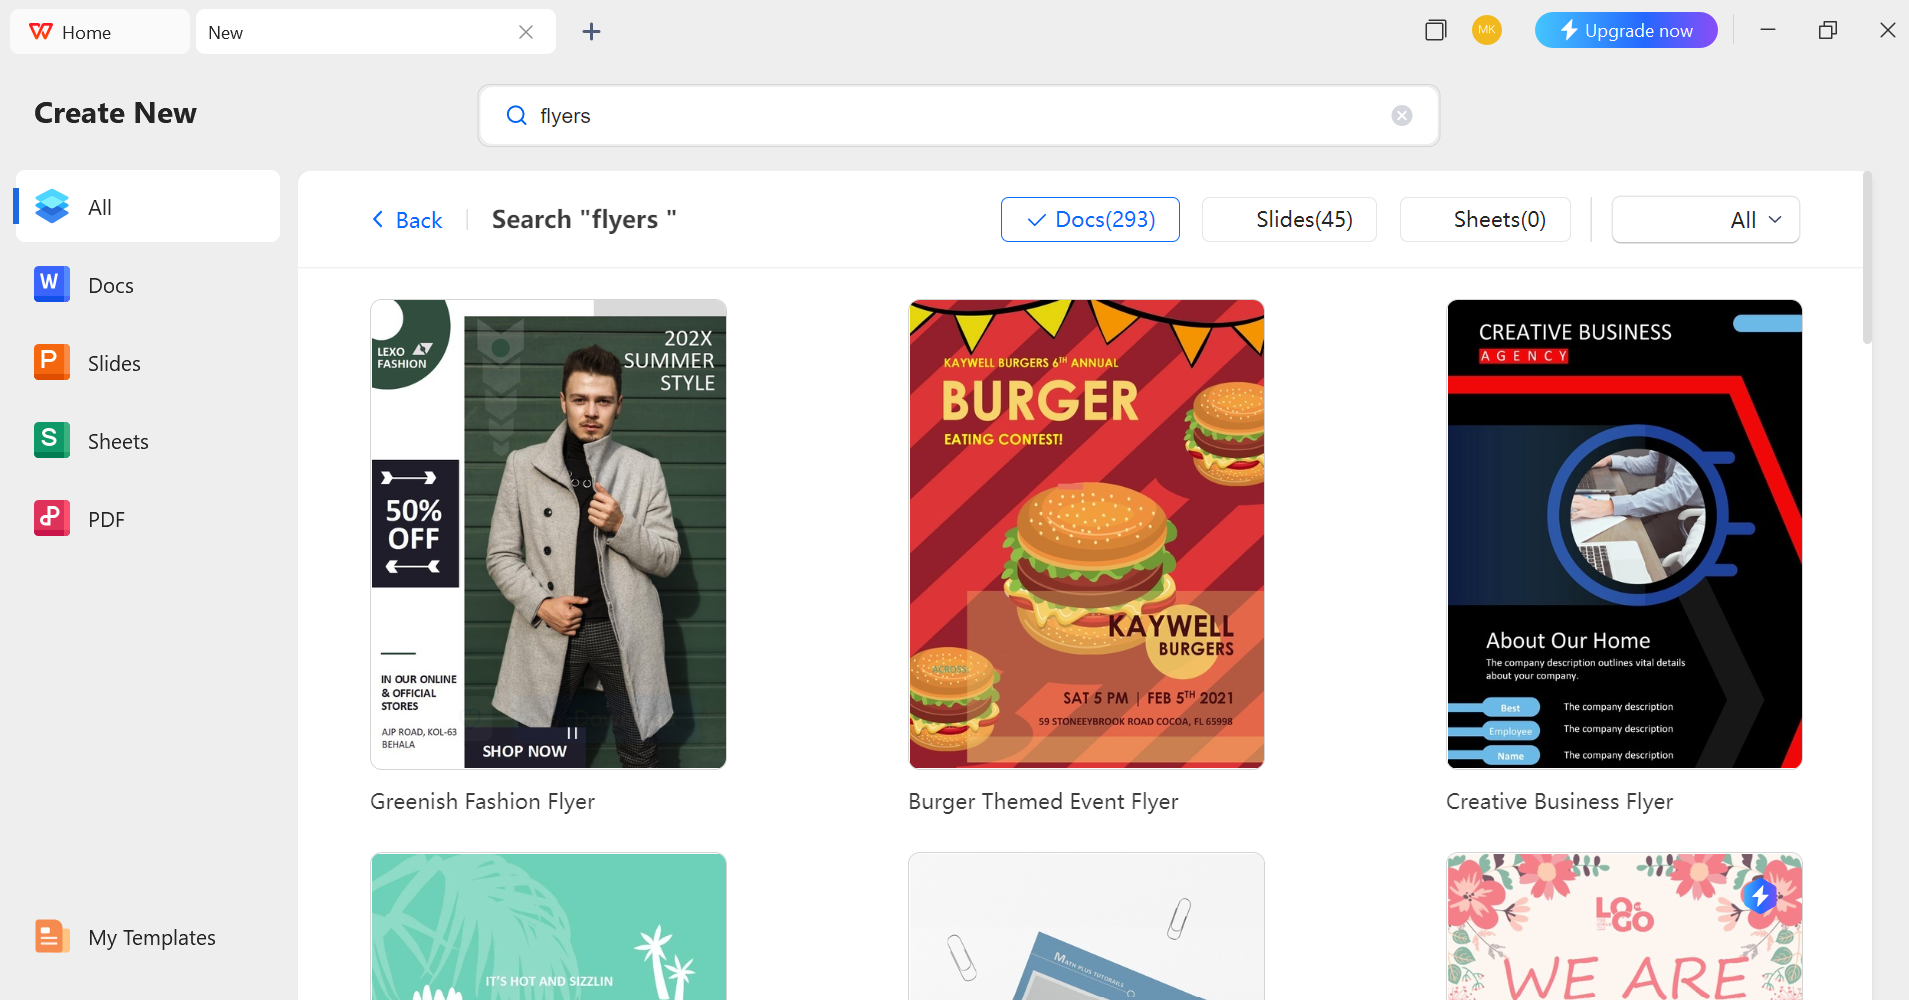
- Search for “Flyer” by typing it in the bar and hitting Enter. Afterward, review the templates and pick the one that fits your needs.
- Click on the chosen template to open it.
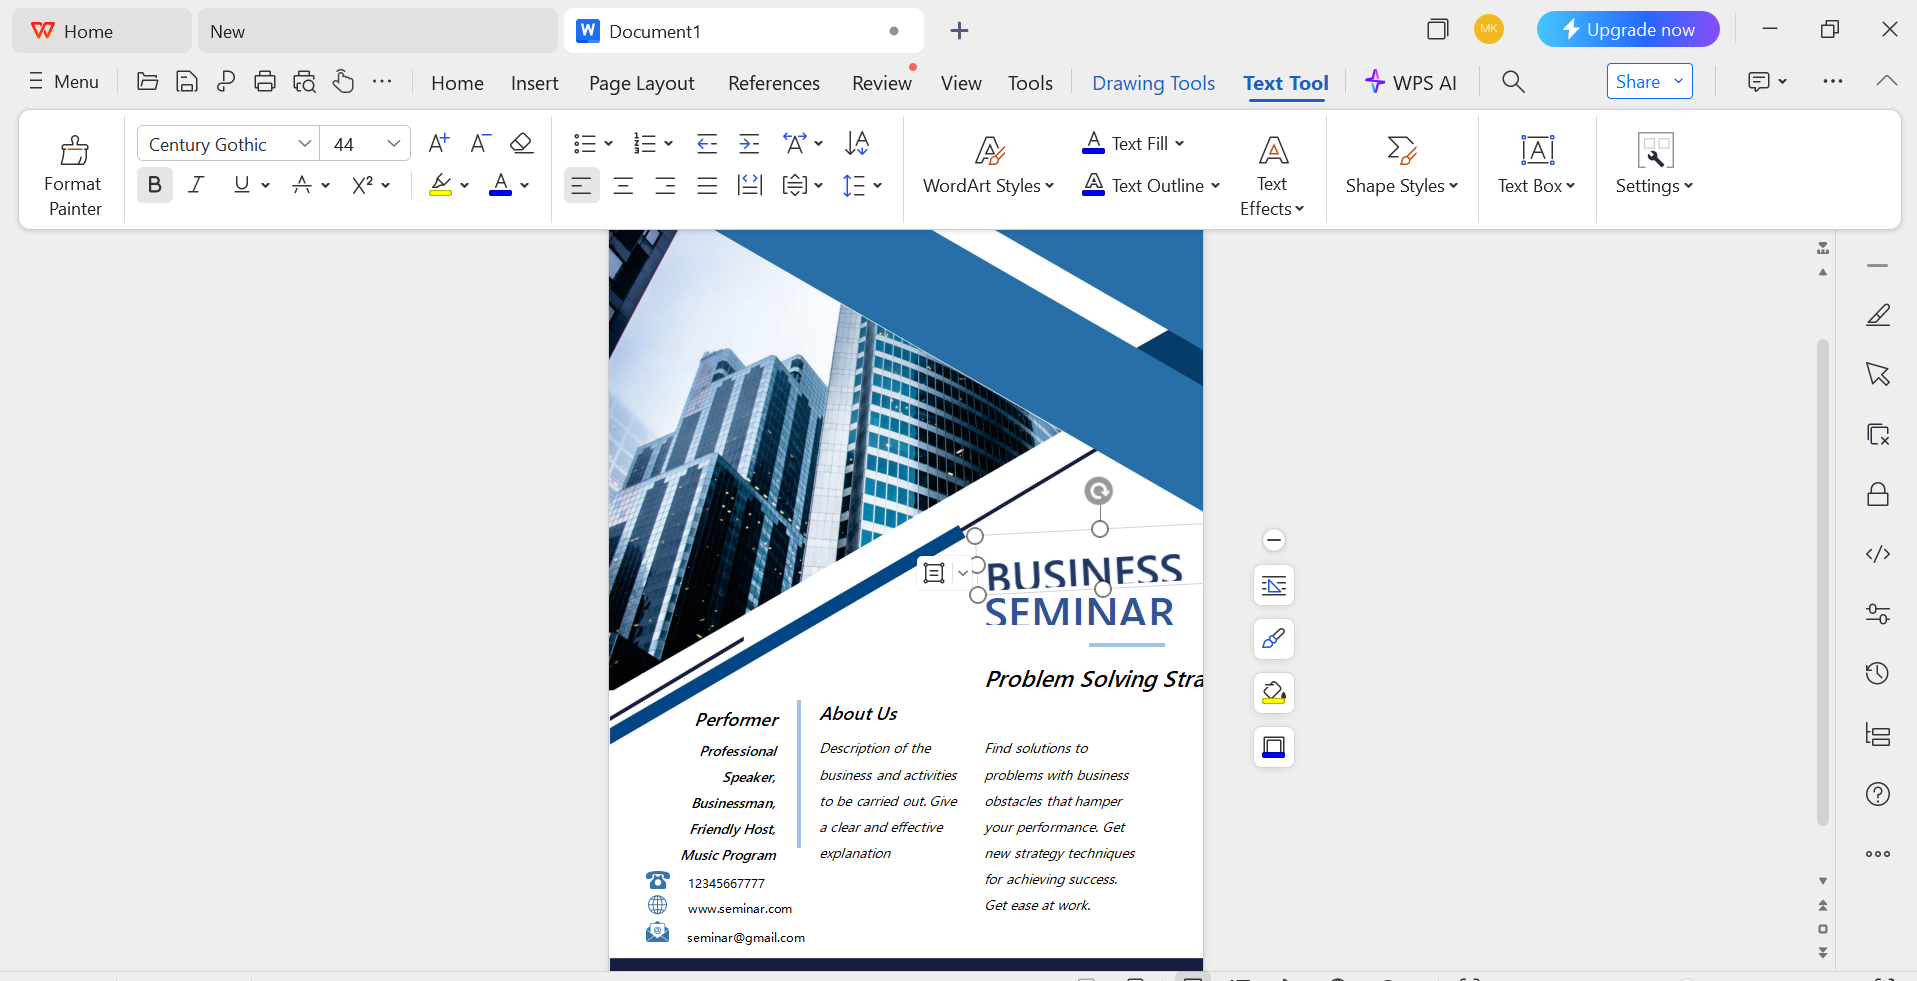
3. Customise the Template
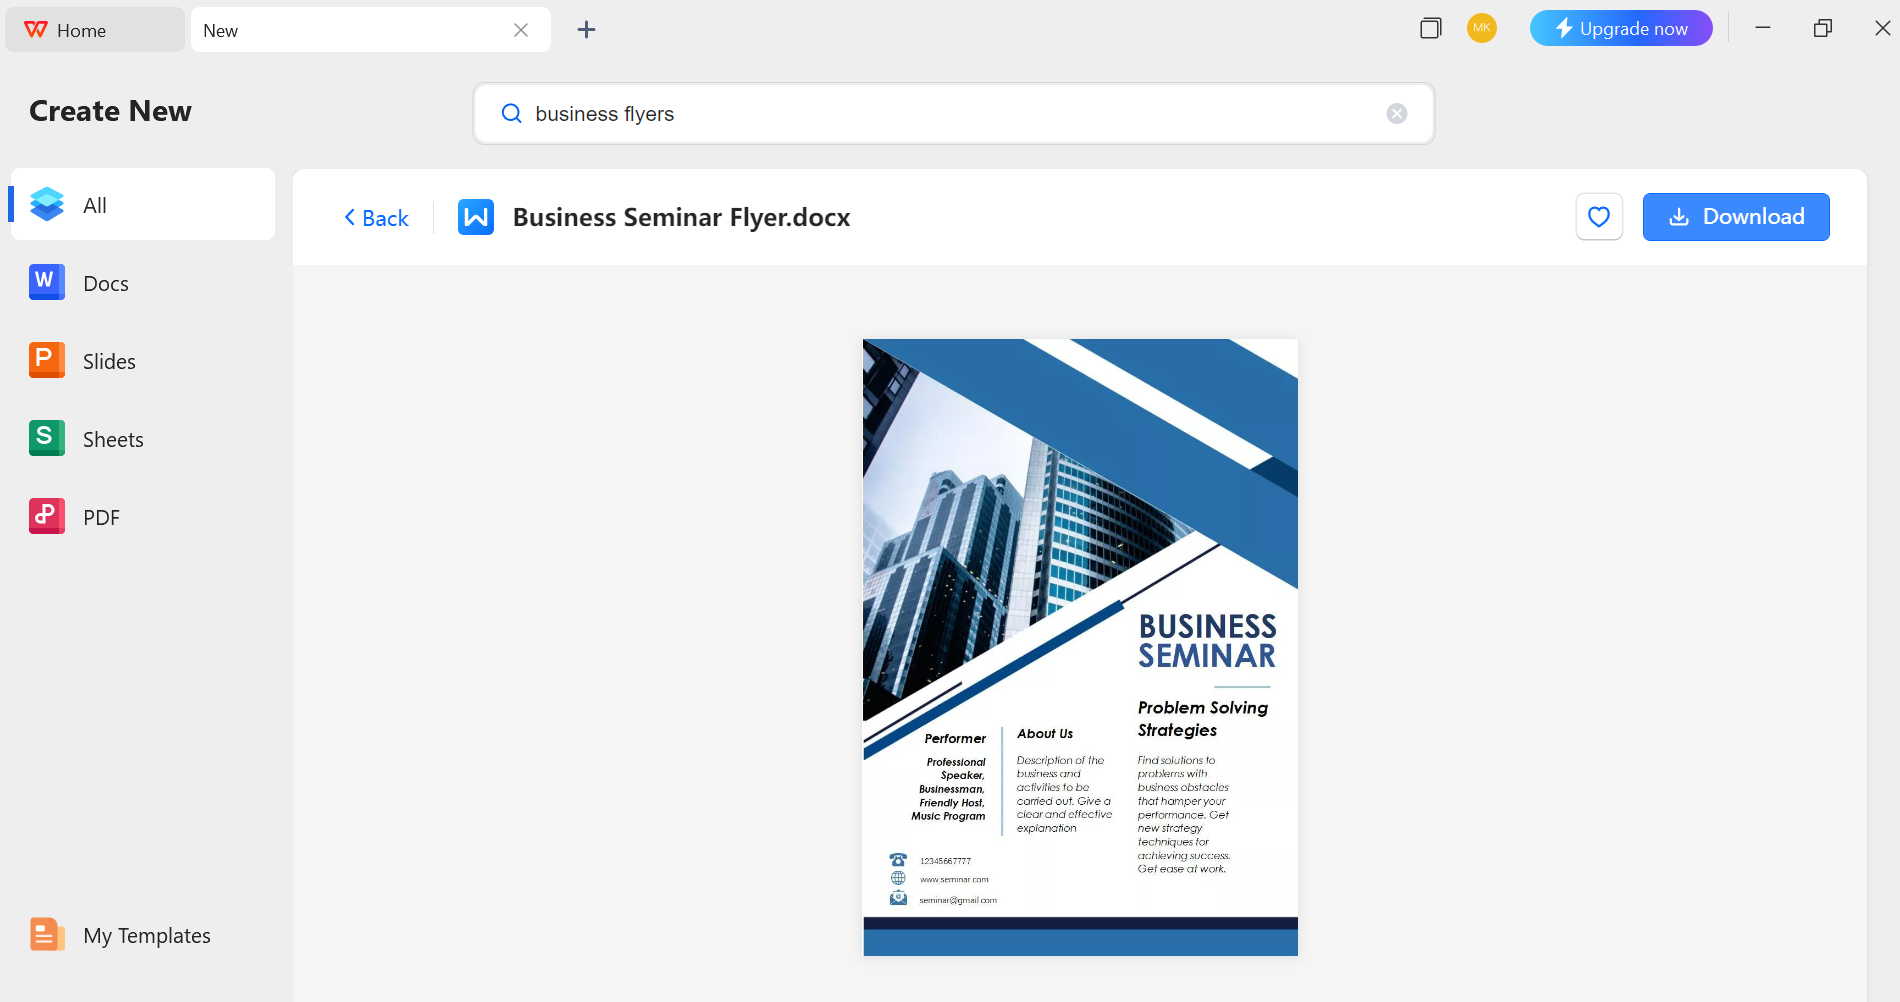
- Edit Text: Click on existing text boxes to modify the content. Adjust fonts, sizes, and colours as needed.
- Change Images: Replace placeholder images by right-clicking on them and selecting Change Picture.
- Adjust Colours: Use the Design tab to modify the colour scheme to match your brand or theme.
- Add Elements: Insert additional text boxes, shapes, or images as required.
4. Finalise and Save
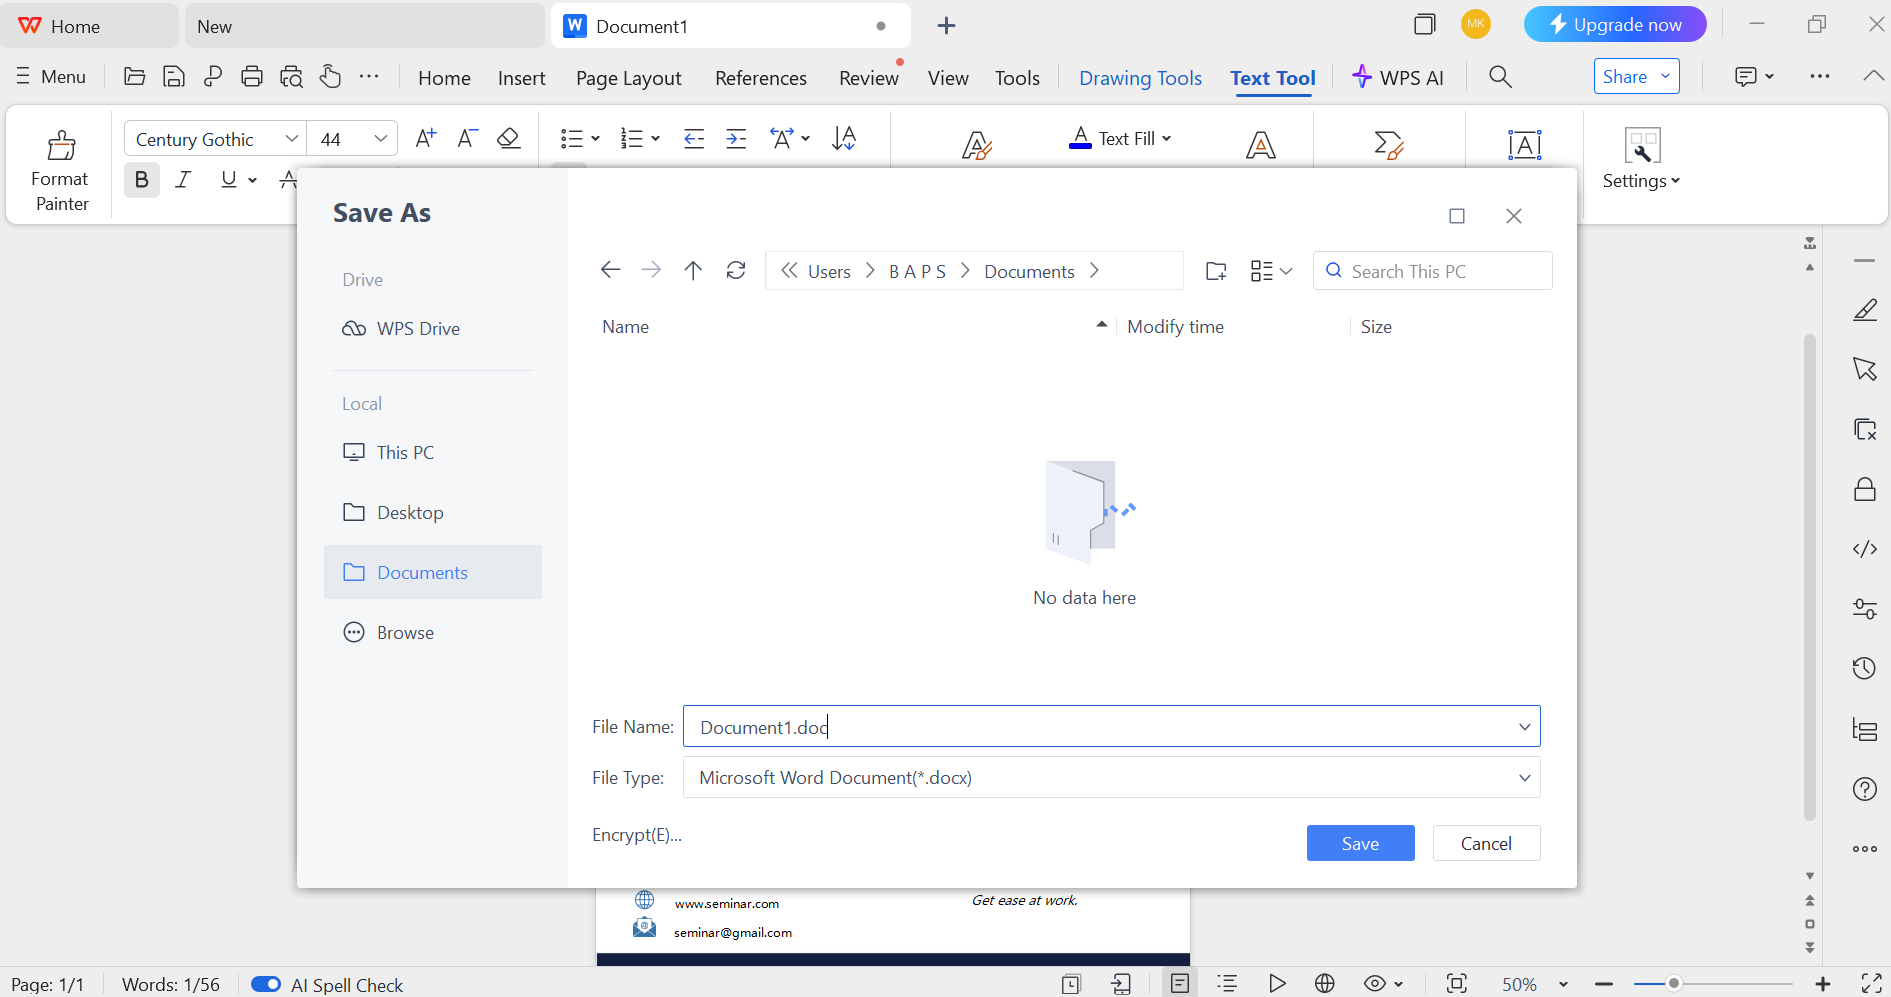
- Review your flyer for any errors or inconsistencies.
- Click on File, then choose Save As to save your flyer. Click the “Create a new project” button in the top-left corner. Choose the desired file format (e.g., PDF for printing, DOCX for editing).
5. Print or Share
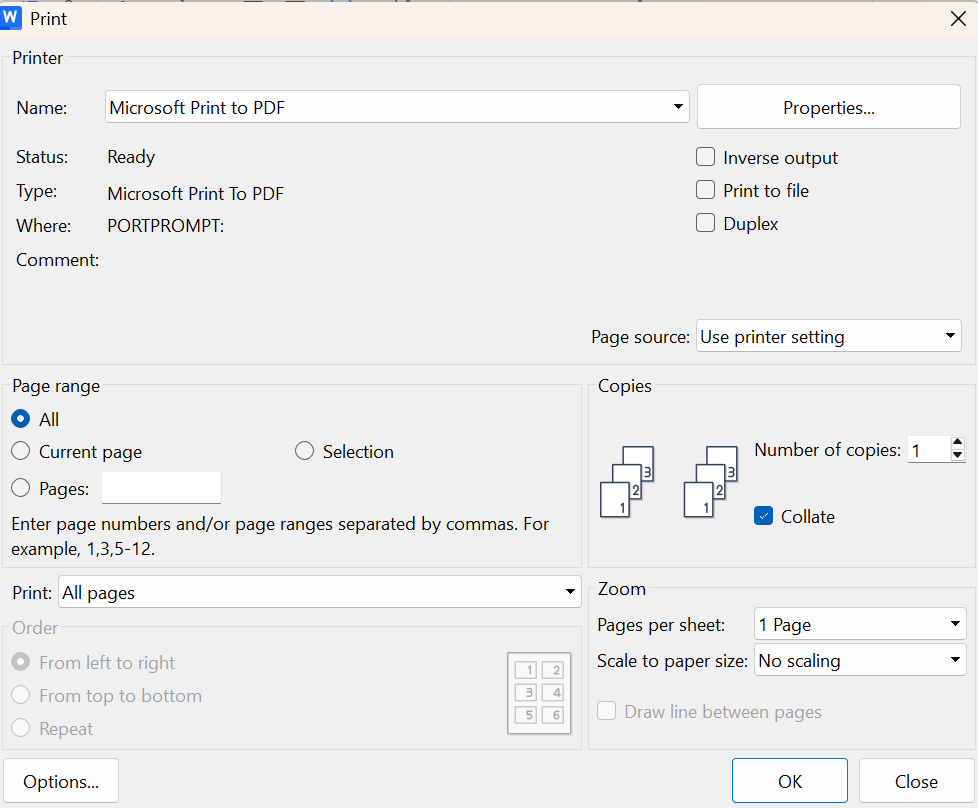
- Print: Go to File> Print, select your printer, and adjust settings as needed.
- Share Digitally: Attach the saved flyer to emails or upload it to your website or social media platforms.
- For a bold and refined look, integrate die cut flyers into your marketing—discover premium designs with our A5 flyers.
Conclusion
Creating an impactful flyer begins with a clear goal and ends with a polished design that speaks to your audience. Whether you’re promoting a business, event, or service, using tools like Canva, Adobe Express, or Word simplifies the process. Keep your branding consistent, visuals compelling, and message concise. For a standout finish, explore custom print options like die-cut flyers. Discover premium layouts and sizes tailored to your needs by exploring our exclusive collection of A5 flyers.


